
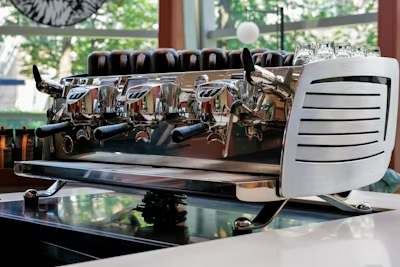
Using a thermal carafe drip espresso maker is a superb way to enjoy hot, flavorful espresso for the day. These machines are designed to keep your espresso at a suitable temperature without relying on a warming plate, which could affect taste. To get the most out of your coffee maker, it’s essential to follow the right steps for setup, brewing, and upkeep. By knowing every part of the technique, you’ll make sure that your espresso remains fresh and hot.
From the preliminary setup to the very last cleanup, every step contributes to an unbroken coffee-making revel. This guide will stroll you through each phase, from preparing your coffee maker to storing it nicely. With a bit of attention to detail, you’ll be able to have fun with scrumptious espresso on every occasion.
How to Use a Thermal Carafe Drip Coffee Maker
- Arrangement for the Espresso Producer
- Fill the Water Repository
- Add Coffee beans
- Set the Brew Choices
- Hang tight for the Brew Cycle.
- Serve and Appreciate
- Switch Off and Tidy Up
- Store Appropriately
1. Arrangement for the Espresso Producer
Start by situating your espresso producer on a level and stable surface. This arrangement is urgent for well-being and appropriate work. Then, plug in the espresso producer, guaranteeing it is associated with a power source. Put the warm carafe safely on the warming plate, ensuring it fits well to stay away from spills.
2. Fill the Water Repository
Open the water repository cover and pour new, cool water into it. Utilize the water level pointer to precisely gauge the sum. Try not to surpass the greatest fill line to forestall flooding during fermentation. Adding new water is fundamental for achieving the best flavor and staying away from any bothersome taste from lifeless water.
3. Add Coffee beans
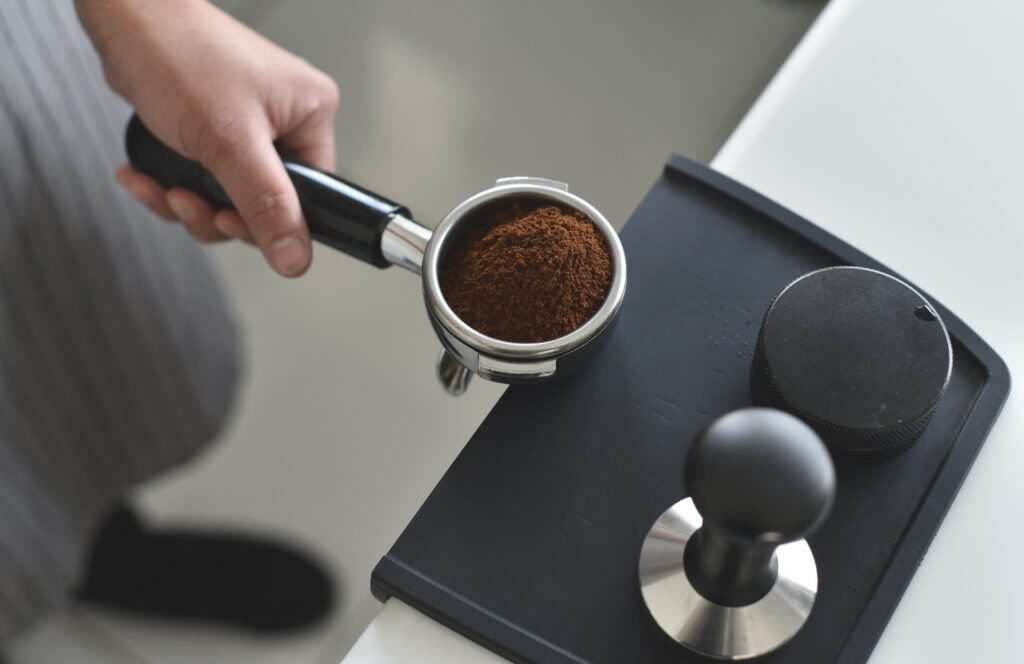
Continue by opening the mix bushel, which is normally situated over the carafe. If your espresso creator requires a channel, place it inside the brew crate. Then, add the ideal amount of coffee beans into the channel. For the most part, one to two tablespoons of coffee beans per six ounces of water function admirably; however, this can change as per your taste inclinations. Appropriately estimating the coffee beans guarantees a reasonable and delightful mix.
4. Set the Brew Choices
For models with programmable highlights, set the blend time or strength using the control board. This element permits you to modify your blending timetable or espresso schedule to suit your needs. On the off chance that you favor quick blending, press the “Mix” button to begin the cycle. The espresso producer will warm the water and pass it through the coffee beans, removing the flavor effectively.
5. Hang tight for the brew cycle.
Permit the espresso producer to finish the fermenting cycle without opening the top. The espresso will dribble into the warm carafe, which keeps it hot without a warming plate. This plan safeguards the espresso’s temperature and flavor. During the preparation process, oppose the impulse to lift the top, as this could upset the fermenting productivity and temperature consistency.
6. Serve and Appreciate
When the preparation cycle closes, cautiously pour your espresso from the warm carafe. The carafe’s plan guarantees that your espresso stays hot and fresh for quite a long time. Partake in your espresso right away or whenever it suits you, realizing that it will keep up with its ideal temperature and flavor.
7. Switch Off and Tidy Up
After serving, switch off the espresso maker if it comes up short on the programmed shut-off feature. Eliminate the pre-owned espresso beans and channels from the mixing bin. Flush both the carafe and the crate with warm water to eliminate any leftover espresso oils. Ordinary cleaning forestalls development and keeps your espresso maker in magnificent condition.
8. Store Appropriately
At the point when it is not being used, store your warm carafe dribble espresso creator in a cool, dry spot. Guarantee that the carafe and all removable parts are completely dry before putting them away to keep them away from form and mold development. Appropriate capacity rehearsals keep up with the machine’s cleanliness and life span.
Step-by-step instructions to Use a Warm Carafe Dribble Espresso Creator
Using a warm carafe trickle espresso creator successfully includes a few key stages. By following these rules, you can enjoy reliably hot and tasty espresso. Here is a point-by-point way to benefit from your espresso maker:
Set up the Espresso Producer
- To start with, position the espresso producer on a steady, level surface to guarantee safe activity.
- Plug in the espresso creator to interface it to a power source.
- Place the warm carafe onto the warming plate, guaranteeing it fits safely to forestall spills.
Add Water
- Open the water repository cover and fill it with new, chilly water. Utilize the water level marker to abstain from stuffing.
- New water is urgent for achieving the best espresso flavor and keeping any off-tastes from flat water.
 Add Coffee beans
- Open the mix crate and supplement an espresso channel if your model requires one.
- Measure and add the ideal amount of espresso beans to the channel. For the most part, one to two tablespoons of ground coffee for every six ounces of water will function admirably.
- Change the amount given your taste inclinations to guarantee a reasonable and pleasant espresso blend.
Set Blend Choices
- Utilize the control board to set the mix time and strength, assuming your espresso maker offers programmable features. This customization permits you to match the mix to your schedule and taste.
- For sure, fire is fermenting; just press the “Mix” button. The espresso creator will warm the water and brew the espresso, guaranteeing a new and hot cup.
Sit tight for the Fermenting System.
- Permit the espresso creator to finish the fermenting cycle without opening the top. The espresso will trickle into the warm carafe, which keeps up with the espresso’s intensity without a warming plate.
- Avoid lifting the cover during the cycle to guarantee ideal fermenting conditions and a predictable espresso temperature.
Serve and Appreciate
- When the preparation system is finished, cautiously pour espresso from the warm carafe. The carafe keeps
- Espresso has been hot for quite a while, so you can appreciate it whenever it suits you.
- Serve the espresso straightforwardly from the carafe to keep up with its glow and flavor.
Switch Off and Tidy Up
- After serving, switch off the espresso producer on the off chance that it doesn’t have a programmed shut-off.
- Eliminate the pre-owned coffee beans and channels from the mixing bin.
- Flush the carafe and mix it with warm water to eliminate any espresso buildup.
Store Appropriately
- At the point when not being used, store the espresso maker in a cool, dry spot.
- Guarantee the carafe and all removable parts are dry before putting them away to forestall the development of mold.
Conclusion
In the end, from setting up to cleaning, a thermal carafe drip coffee maker needs careful attention to every step to function properly. If you use clean water, accurately measure your coffee, and set the device on a solid surface, you can get a super brew. You will also get the most out of your coffee if you anticipate the entire brewing process. If you want your coffee maker to work well and last a long time, keep it clean and tidy.
By following those pointers, you make certain of a consistently excellent espresso experience. Keep your device well-maintained, and you’ll also revel in hot, flavorful coffee each day. Transitioning from one step to the next with these recommendations will help you get the most out of your thermal carafe coffee maker.

FAQ’s
1. How do I set up my thermal carafe coffee maker?
For installation, place the coffee maker on a strong floor, plug it in, and place the carafe on the warming plate. Fill the water reservoir with sparkling water and add espresso beans to the brew basket.
2. How do I clean my thermal carafe espresso maker?
Clean the carafe and brew basket with hot, soapy water. Run a brew cycle with a mixture of equal components of white vinegar and water, then flush with water to get rid of any vinegar residue.
3. Why is my coffee now not staying warm?
Ensure the thermal carafe is properly placed on the warming plate and that you’re using a smooth, nicely maintained carafe. Avoid opening the lid at any point in the brewing technique.
4. Can I use any kind of water in my espresso maker?
Use sparkling, cool water for a satisfactory flavor. Filtered or distilled water is suggested to lessen mineral buildup and enhance taste.
5. How regularly should I clean my coffee maker?
Clean your espresso maker after each use. Perform a deeper easy with vinegar or a descaling solution every few weeks, depending on usage and water hardness.